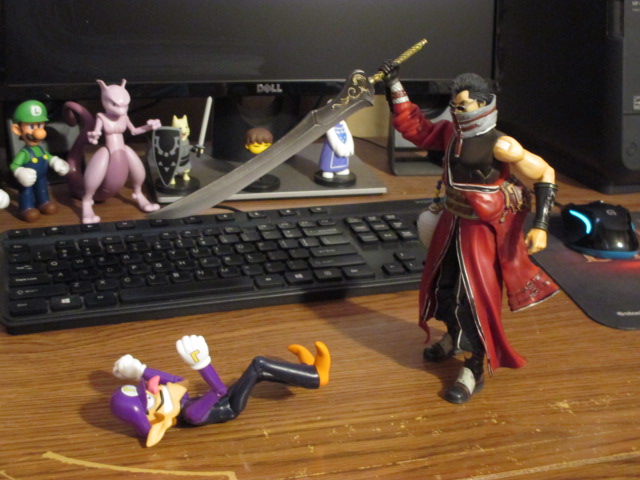
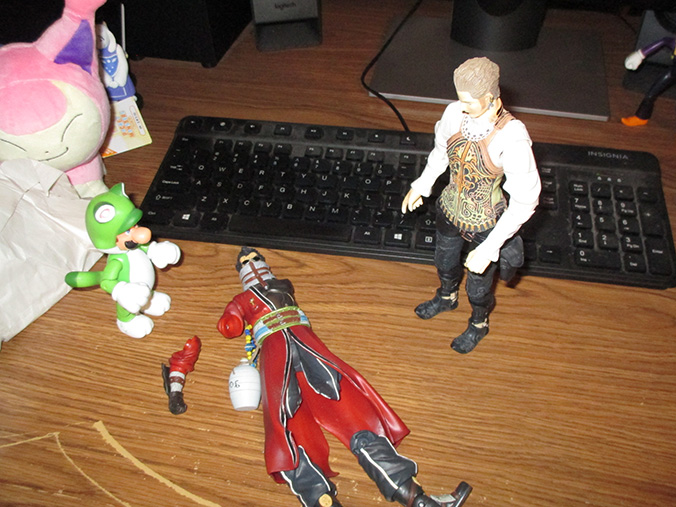
What looks like Balthier and Cat Luigi figuring out the best way to clean up Auron's dismembered body as Toriel cries into a Skitty and Waluigi suspiciously sneaks away from the crime scene is actually my unpacking an intentional eBay purchase. Although the listing said only one of his legs was broken, so when I took him (and his shipping buddy, Judge Gabranth) out of the package and found both were broken I was slightly annoyed.

You could shove his pieces together and he would stand, but I wasn't satisfied. His elbow would disconnect when moved, and his left leg was flimsy and prone to falling off when so much as breathed on. Plus, I couldn't help but feel like leaving him this way was asking for one of his pieces to go missing. I wanted a permanent solution.
Also, Balthier is a tall bugger.
This article is for entertainment purposes only, though if you pick up some figure repair tips from it, that's great. That said, I am not responsible for any damage you do to your action figures or injuries you inflict on yourself if you decide to follow it.
I will offer this one bit of advice for anyone who wants to do action figure repair, though: Get a Dremel and a flex shaft. I started out trying to fix him with whatever crap I could find around the house such electronic screwdrivers, hand files, and my old clay carving tools, and all I accomplished was pissing myself off. In fact, down the line I found myself having to make modifications to the figure that would have been utterly impossible without the Dremel.
Also, always remember to wear safety goggles while working with sharp objects and power tools.
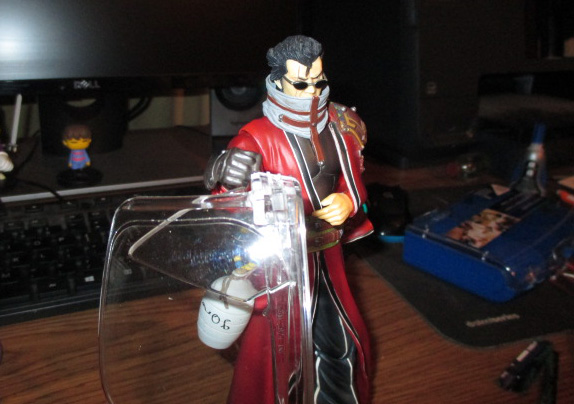
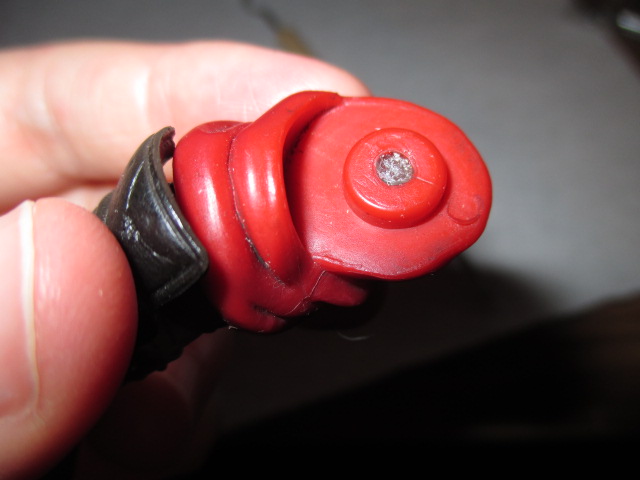
I started work on his arm since it was easier to get to than his knees, what the the coat and all. I originally thought this was a glob of super glue the previous owner pumped into his arm, only for it to break again. As I slowly carved it out with an electronic Phillip's screwdriever I found out, nope, that's the broken peg that was holding him together.
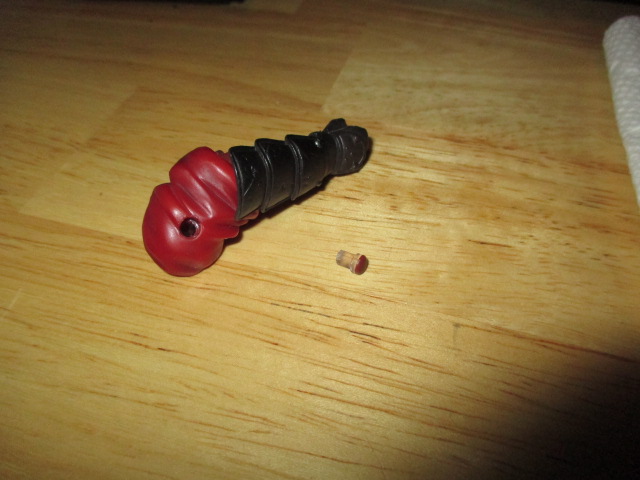
I won't waste too much of your time showing you the shit that didn't work, such as drilling a hole into the pegs with a tiny screwdriver...
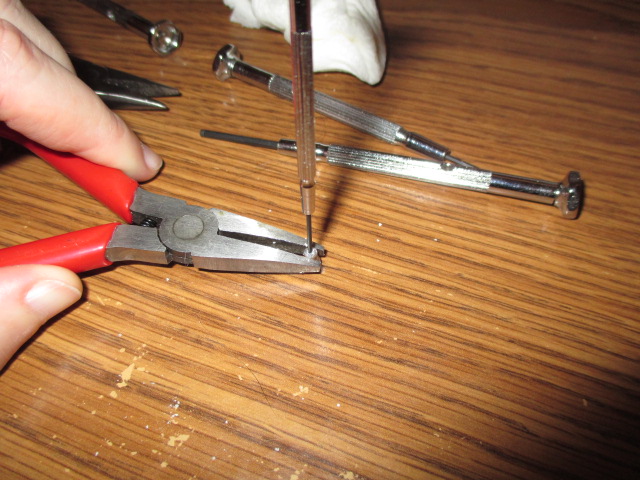
...and trying to use a piece of a pin to connect them...
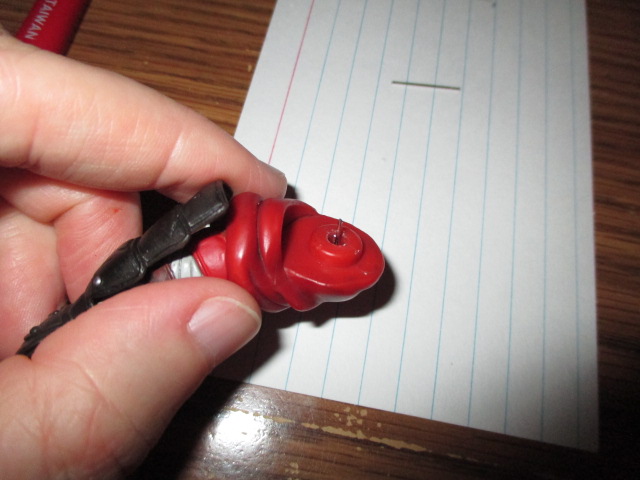
...or using bolt cutters on some musical wire, then trying to file it to the right size...
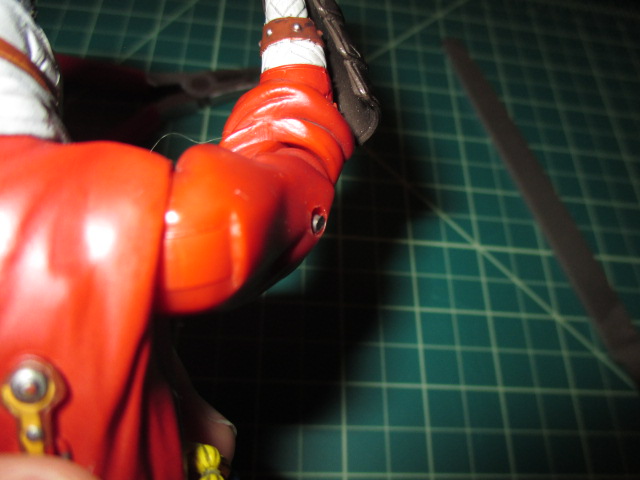
... and just take you to a week after I got the figure, when I finally started to make progress on him. By the way, do you notice it looks like the wire is running through his arm at an angle? There's a reason for that we'll get to later.
One problem I was having is that, because the figure originates from Japan, his measurements are Metric. And because America uses Imperial, the materials available at hardware stores were all the wrong size. 1/8" was too thick and I don't know what size the musical wire was since came from a pack of assorted size, but it was too thin (I'm going to guess it was 3/32"). I don't remember what made me think of acrylic rods, but after calculating that 1/8" was roughly 3.2mm, I searched for 3mm acrylic rods. As luck would have it, Amazon had a single 2-pack left in stock.
Online article said cutting acrylic rods takes a rotary tool and I swear, getting the Dremel is what turned this project around. And despite the concerns of myself and my WoW guildies that I'd cut a finger off, I actually did more damage to myself with the electronic screwdrivers (I was pushing the peg out of his shoulder joint with a hex driver, and it came loose suddenly, and, well...). When the rods arrived, I was half expecting them to be too large, too.

SCORE
So, let's get into how I finally got him back together.
The first job with the Dremel was to grind the broken pegs out of his knees. Initially I thought his legs were going to be a bitch to work on because of his coat, but it was actually flexible enough to fold out of the way. During the grinding I used long pieces of tape to hold it out of the way but wound up pulling a little bit of the paint off his right shoulder, so I just held it back with my thumb for later work. Still, it's a good thing his hips weren't broken because the only way I could fix those would be to slice his coat off with an X-Acto blade, then glue it back on.

Pop quiz: How long did it take me to carve the broken peg out of his arm with the electronic screwdrivers? At least an hour. How long did it take me to grind the broken pegs out of his knees with the Dremel? About a minute for each one.
For his elbow and left leg, I connected what was left of the original pegs to the new rods by carving a niche into the original peg with the Dremel's plastic cutting wheel, then carving out the sides of a new rod to form a tab...

... then gluing it together with some Gorilla Glue. Since Gorilla Glue foams up, afterwards I had to sand it down with the Dremel.
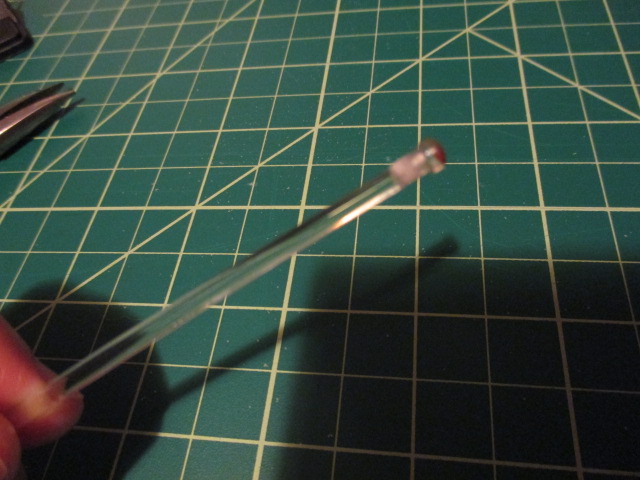
His right leg, however, was another story. It looked like somebody, either the manufacturer or the previous owner, tried to use glue the cap of the peg back on and sealed it to his knee.
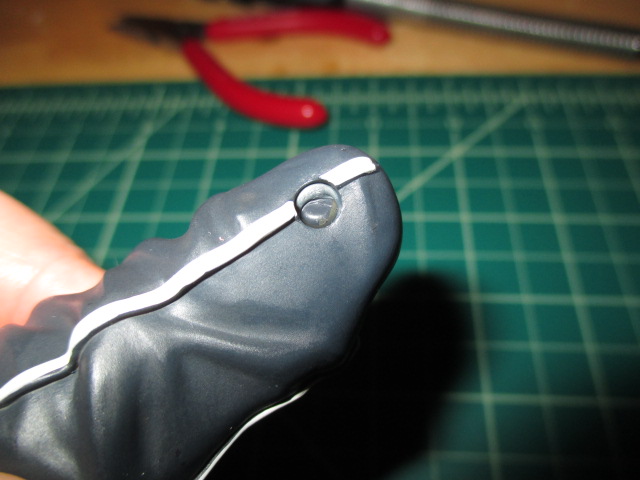
I used a tiny carving tool on the Dremel to cut into that white crap around the edges, hoping I could carve out enough of it to free the peg. But there was no paint under the white stuff, or any other seperation between the two. As with the inside of his arm, that's not glue, that's the peg. Specifically, the peg smashed against his leg.
See, the hole in his leg was supposed to be cut like this...

...but a factory defect meant it got cut like this.

I can't say for certain what happened next without knowledge of the assembly process, but it appears the peg was softer when inserted (maybe it was slightly warmed up so it would stick to the peg being inserted into the other hole?). And because the hole was cut wrong, trying to insert the peg...

...resulted in that mess you see up above. The best part of this? This is the leg the listing said was still attached.
I have two choices right now: drill all the way through his knee to get the peg out of the inside of his knee, then connect an acrylic rod between that peg and the deformed one in his knee; or grind out this deformed peg and fashion a new one.
I went with the latter.
If this is getting too technical or too dry for you, enjoy this image of the Undertale human staring at his severed leg I noticed I'd accidentally set up while playing WoW.
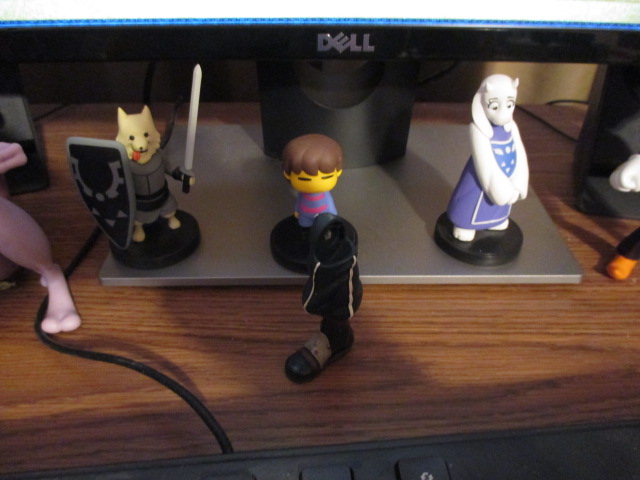
And the Lesser Dog is looking pretty hungry there.
The color of acrylic paint can change slightly when it dries, so I wanted to give a test swatch a chance to dry while I made the actual peg. The art store didn't carry any dark blue acrylic paint, so I had to get a tube of Primary Cyan then add a touch of Carbon Black to it.
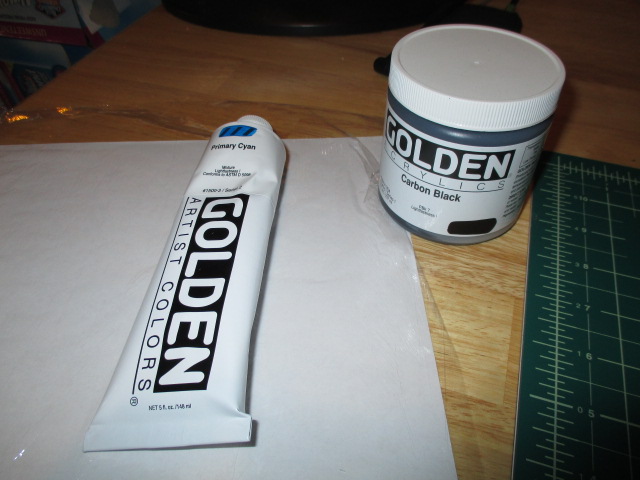
Hehehe. Cyan.
To forge the peg itself, I took the soldering iron out of my game battery changing kit, used the side of it to melt down one end of a rod...
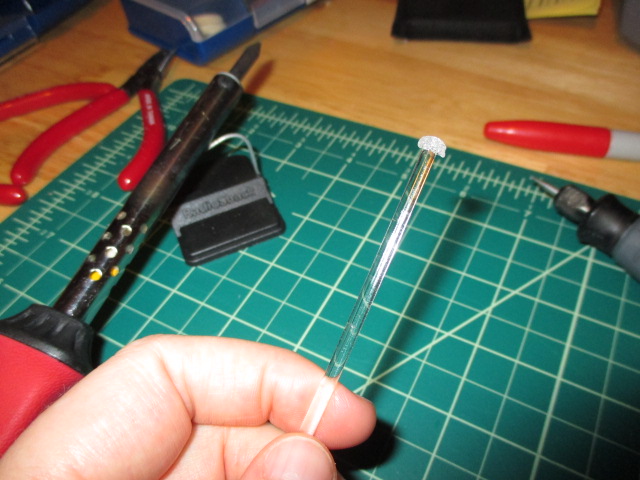
...then refined it with the Dremel.
By the way, if you do this, keep all the parts of the figure far away from the soldering iron. The soldering iron could slip off its stand or get pulled off by its cord and if it falls on the figure, that would be very, very bad. I say this because I actually got up to do something else while the iron was heating up and left Auron maybe eight inches from it, and when I came back realized how unbelievably stupid that was. Thankfully nothing happened.
Once I had the new peg, I ground the bad one out of his knee.

Because the hole for the peg is deformed and I *really* don't want to grind into the outside of him, the new peg is going to have to sit on top of his leg instead of nesting into a niche.
Now that the sample swatch of acrylic paint has had a chance to dry, let's compare it to his pants.
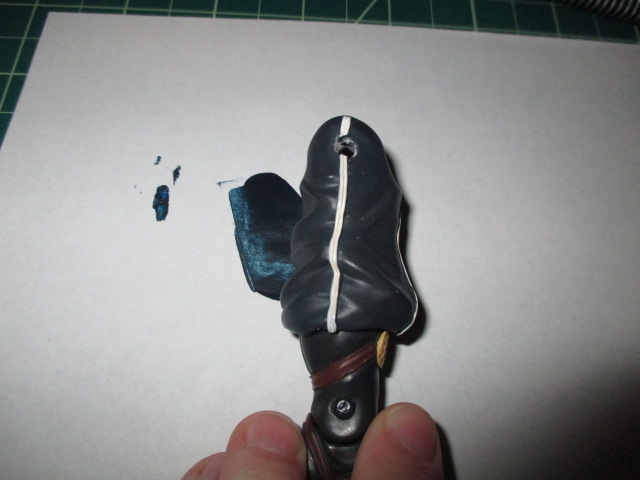
Yeah, that looks pretty close. So I painted up the end of the rod and inserted it into a chunk of Crayola Model Magic I poked some holes into to dry.
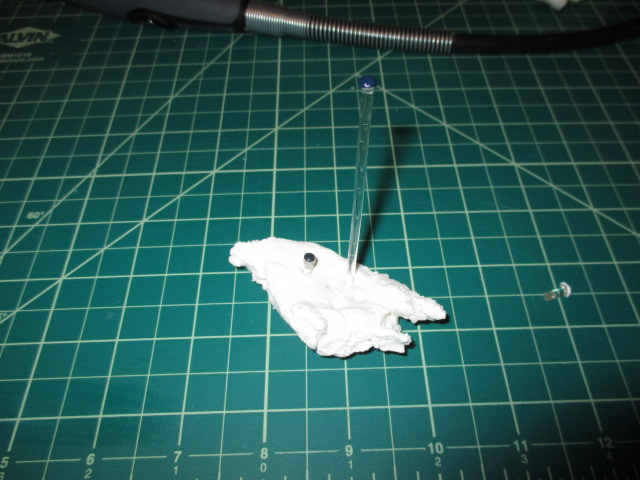
To measure the cut I put the rod into his leg, marked some extra length with a red Sharpie, then cut it with the Dremel's plastic wheel. For the initial cut I erred on the side of making it too long because I'd rather shave off tiny amounts of the rod with the Dremel until it fit than make a new peg because the first cut was too short.
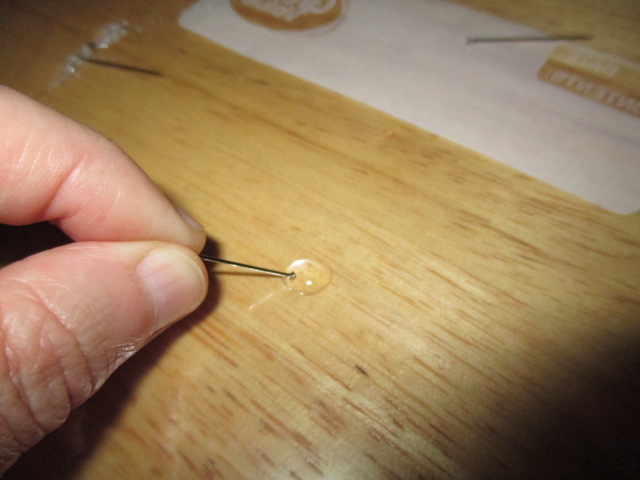
For accuracy in the gluing process, I squeezed a little bit of the glue onto a plastic baggie, dipped a pin into it, then used that to put glue into the cavity of his knee.

I glued this leg together with Gorilla Glue, then left him alone for about an hour; at that point the glue would hold, but it wouldn't be fully bonded so I could still pull it apart if it was set wrong or the joint got sealed. When I came back to find the peg holding and his leg moving, I go so excited I immediately ran to WoW to tell the head of my guild about it.
Next I tried to glue his left leg, but had a hard time getting that peg in place. This time I came back an hour later to find his leg flopping around because the cap hadn't actually gone down into its niche, so I yanked it apart to try again. It was also at this point that I saw just how much Gorilla Glue foams up (sorry, didn't think to take pics, but just a dab of it filled his leg socket to the point I'm surprised it didn't seal his right leg), and decided against using it on the figure anymore.
It was hard to see into the knee, but it really looked like the holes in the two halves of his knee didn't line up, with the one in his upper leg being higher up than the one in his lower leg. Using one of the Dremel's drill bits, I widened the hole in his upper leg until I could slip a rod through both holes no problem.
Also, when I pulled the leg apart during the botched glue job, I wound up pulling the original cap off the new rod. Instead of trying to reattach it I just said "fuck it" and fashioned a second peg for his left leg the same way I did for his right. Since the hole in his left leg was cut correctly, I crafted this peg's cap to fit into the niche.
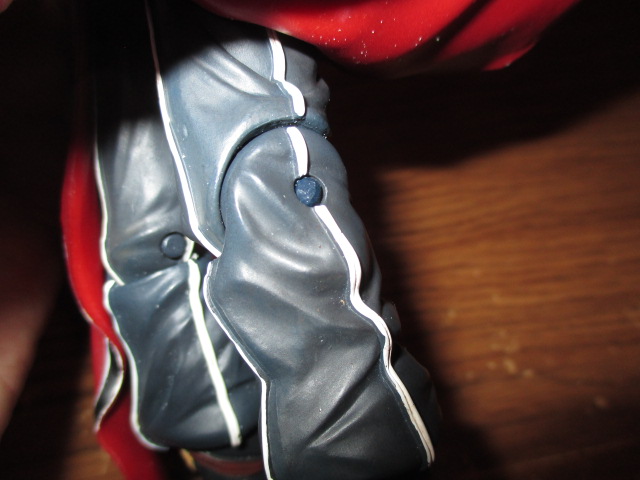
The new pegs wound up being a little bluer than his pants, although the camera appears to exaggerate the difference. But eh, they're hidden under his coat and nobody but me is going to know.
But because they're both visible, I really wanted to keep the original caps in his arm.
Although the 3mm rods fit cleanly through his legs, they're tigher in his arm and needed to be worked in with a twisting motion. This I meant I couldn't connect the two halfs of his arm then slide the new peg in as I did with his legs, and was going to have to pop his forearm into his upper arm with the peg in it.
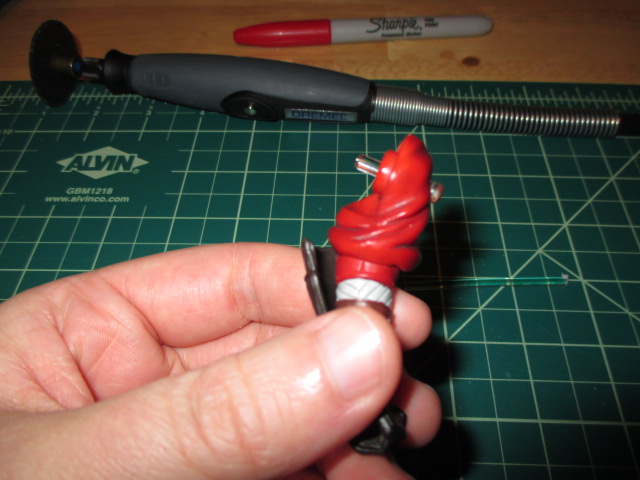
Way back when I tried the musical wire, I cut the cap off his outer elbow's peg using a clay cutting tool that sort of looks like an X-Acto knife - again, it took ages to cut it off with the hand tool when the Dremel could have cut it off in seconds, and done a much cleaner job. During this time, however, I wound up supergluing the cap into his arm. I *might* have been able to get it out with the Dremel, but it wound up working in the end as I now had a niche I could fit the new rod into.
In theory, anyway. After shortening the peg to what should have been the right length I still couldn't get it to pop together. Then I discovered something.
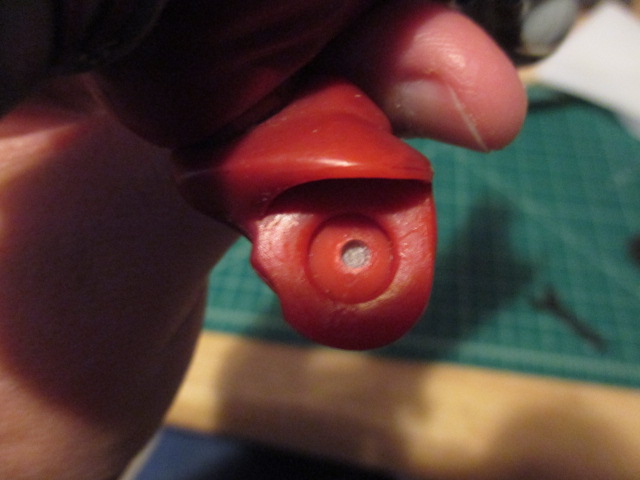
Yeah, are you noticing what it took my dumb brain over a week to see? The hole in his upper arm is off-center, and therefore doesn't line up with the hole in his forearm. You know, every out-of-the-box figure of Auron I saw on eBay from the past few months was broken in some way. At first I thought people had a thing for reenacting his first confrontation with Yunalesca, but between this, his left leg having the same problem with mismatched holes, and the smashed peg in the right leg, it's looking like the QC for this thing was garbage.
And yes, this is why that musical wire was running through him at a funny angle.
As with his left leg, I used the Dremel to widen the hole in his upper arm until I could get the peg in. Once I was sure all his parts fit comfortably together, I said my prayers to God, Odin, Baast, Blind Io, Arceus, Aman'Thul, the Flying Spaghetti Monster, and Cthulhu, and glued his arm and leg up with plain old Loclite.
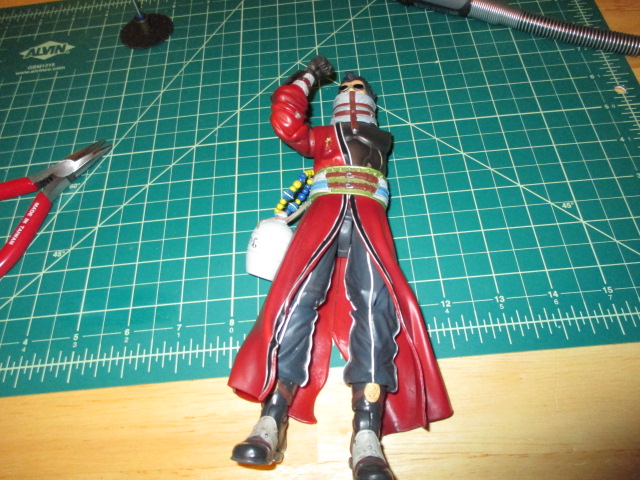
After the hour test, I left him overnight. The next morning, finally, after a week of cursing, his limbs were back together. Admittedly I'm not super confident in his arm, but I'm not planning to move it all that much. And if it does come apart again, I have an idea for how to reconnect it.
For his left arm, Auron comes with multiple parts so you can theoretically swap between "faking a broken arm" and "ready to break somebody else's face" but it's a huge pain in the ass to get his arm into its socket and an even bigger one to get it back out. Amazing, Tetsuo was designed so you can swap his robot and tentacle arms with ease (though I leave him with the robot arm), but pulling Auron's arm out requires a damn vice grip.
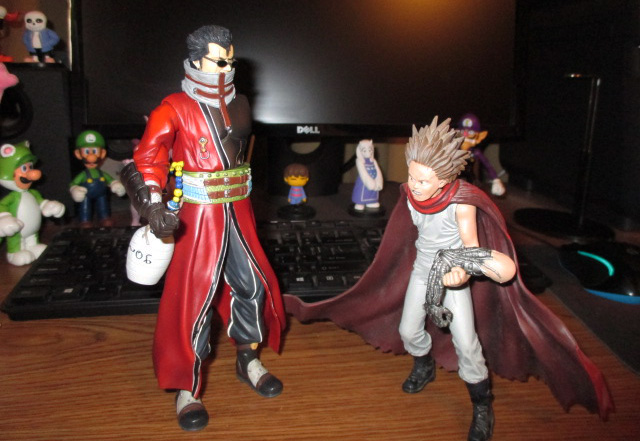
Yeah, I guess I should have done a better job dusting Tetsuo off before taking that picture, but I'm not yanking Auron's arm back out for a photo op. Bite me.
So unless you want to eventually break something - or at the very least, scar his shoulder with the vice grip's teeth - you need to pick an arm and stick with it. In fact, his "sling" arm WAS broken, but I didn't bother to glue it back together because it's actually easier to get it on and off when the two parts are seperated, seeing as they broke along the seam where the two were already glued together. Also, I wasn't planning to use that part, anyway; since he just feels more complete to me with two functioning limbs, I went with his arm and hanging sleeve.
With that out of the way, I can make one last repair.

This is an easy fix with some super glue. In fact I glued it together as soon as it arrived, but I wound up breaking it again during the repairs. Now that everything else is done, I can glue this back together.
And with that, Auron's finally whole again.

Now that he's fixed up, let's take a look at the actual figure. It... uh, could be better. I wasn't expecting to be able to pose him like this, but his coat and the heavy folds in his pants restrict his already limited leg articulation. In fact, his backside prevents his upper left leg from going any further back than I have in the picture so he can't stand straight-legged, leaving him with a bit of a hunched look. And maybe it's just me, but it looks like his bicep is upside down. Also, it's worth noting that the trim of his coat is black on the figure (and the ArtFX statue pictured in the previous link), when it's blue in both Final Fantasy X and Kingdom Hearts II.
I'm fine with him missing the grey streaks in his hair (in fact, I think they look kind of doofy on the statue, maybe just because of a half-assed paint job), but what I do find distracting is the black line between his lips. Compare it to the subtler coloring on Balthier's mouth, and it's really jarring. It looks like the group set up camp one night and while Auron was asleep, Tidus and Wakka thought it would be funny to prank him with Lulu's lipstick.
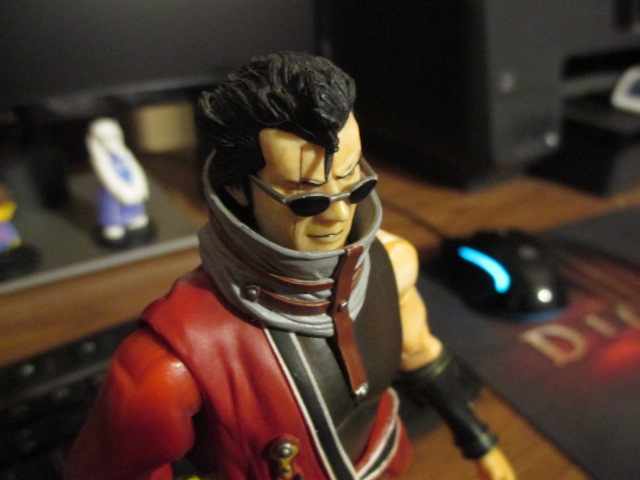
And is it just me, or does it look like he's fighting back a smile?
Oh yeah, for the scar on his right eye, they didn't just paint a line on him, they cut into his face.
Auron currently stands alongside Balthier, Papyrus, and a slew of cat Pokemon in my WoW raiding squad. Hey, did anyone else ever notice "Auron" is pronounced like "Tauren" without the T?
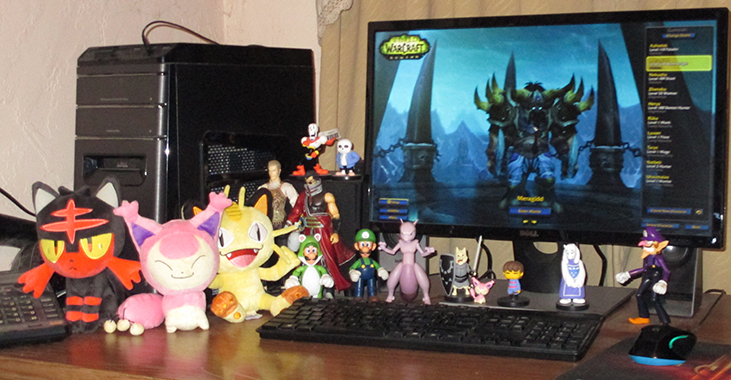
And before anybody says anything, yes, I know Auron and Balthier are supposed to be the same height at 6'00". And while we're at it, Mewtwo is supposed to be 6'07" and Skitty generally doesn't come in miniature and Snorlax-sized.
And yes, I play World of Warcraft with a Diablo III mousepad. I'm a very confused individual.
Now, here's something to consider. Somebody on eBay was selling a new-in-box Auron for $70 plus $8 for shipping, which I thought was a bit steep (though not as steep as the people wanting $150+). I got this broken one for $10, but then I had to buy the Dremel, flex shaft, and bit kits, plus the metal and acrylic rods and the cyan paint, then spend almost two weeks screwing around with him. After all that, it seems like I should have just bought the new one in the first place.
Well, not really.
First and foremost, it's not like the Dremel is bound to the first project it's used on and will explode if I try to use it on anything else. Whether I need it for repairs around the house or clay sculpture it seems to be a fun little toy in its own right. Likewise, I can always use the metal rods and paints on other projects. Then there's the satisfaction of putting this poor, broken figure back together (shit, I'm celebrating the fact the only damage I did to him was pulling a little bit of paint off an area where it's not noticeable). But most of all, I actually learned something from this.
Also, given how shoddy the work on him was, wouldn't it have been something if I'd laid down $80 for the new one, then THAT broke as soon as I tried to move his arm?
And now, with that adventure behind him, Auron has some business to attend to.
